I was shopping at thrift store last December and found an old glass door. It probably belonged to a china cabinet or something similar. It was rather large, 20″ by 50″. As soon as I saw it, I knew I wanted to turn it into wall art, with hooks perfect for hanging anything from coats to jewelry. I got it home, washed it, and laid it on the floor to determine what exactly I was going to do. My toddler then promptly walked on it, shattering the glass that was to be my canvas.
Poor broken thing.
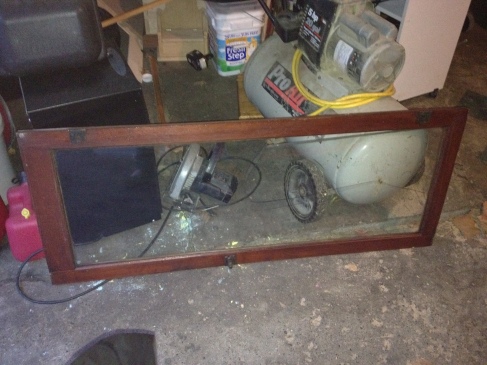
I put it away in the garage and gave myself some time to re-imagine the project. In the end, I decided to continue on with my original idea. Who needs glass, anyways? So, I took a hammer to the rest of the glass, making sure to remove every last shard. Then I removed the latch from the front of the frame. Normally I like to leave vintage features on my projects for character, but in this case, it just wasn’t possible. The cabinet door had the original hinges along one side that I thought would be a great way to attach the whole piece onto a wall.

Unfortunately, the hinges and the latch were on same side, so I could only keep one. I chose the hinges.

Bye-bye, latch.

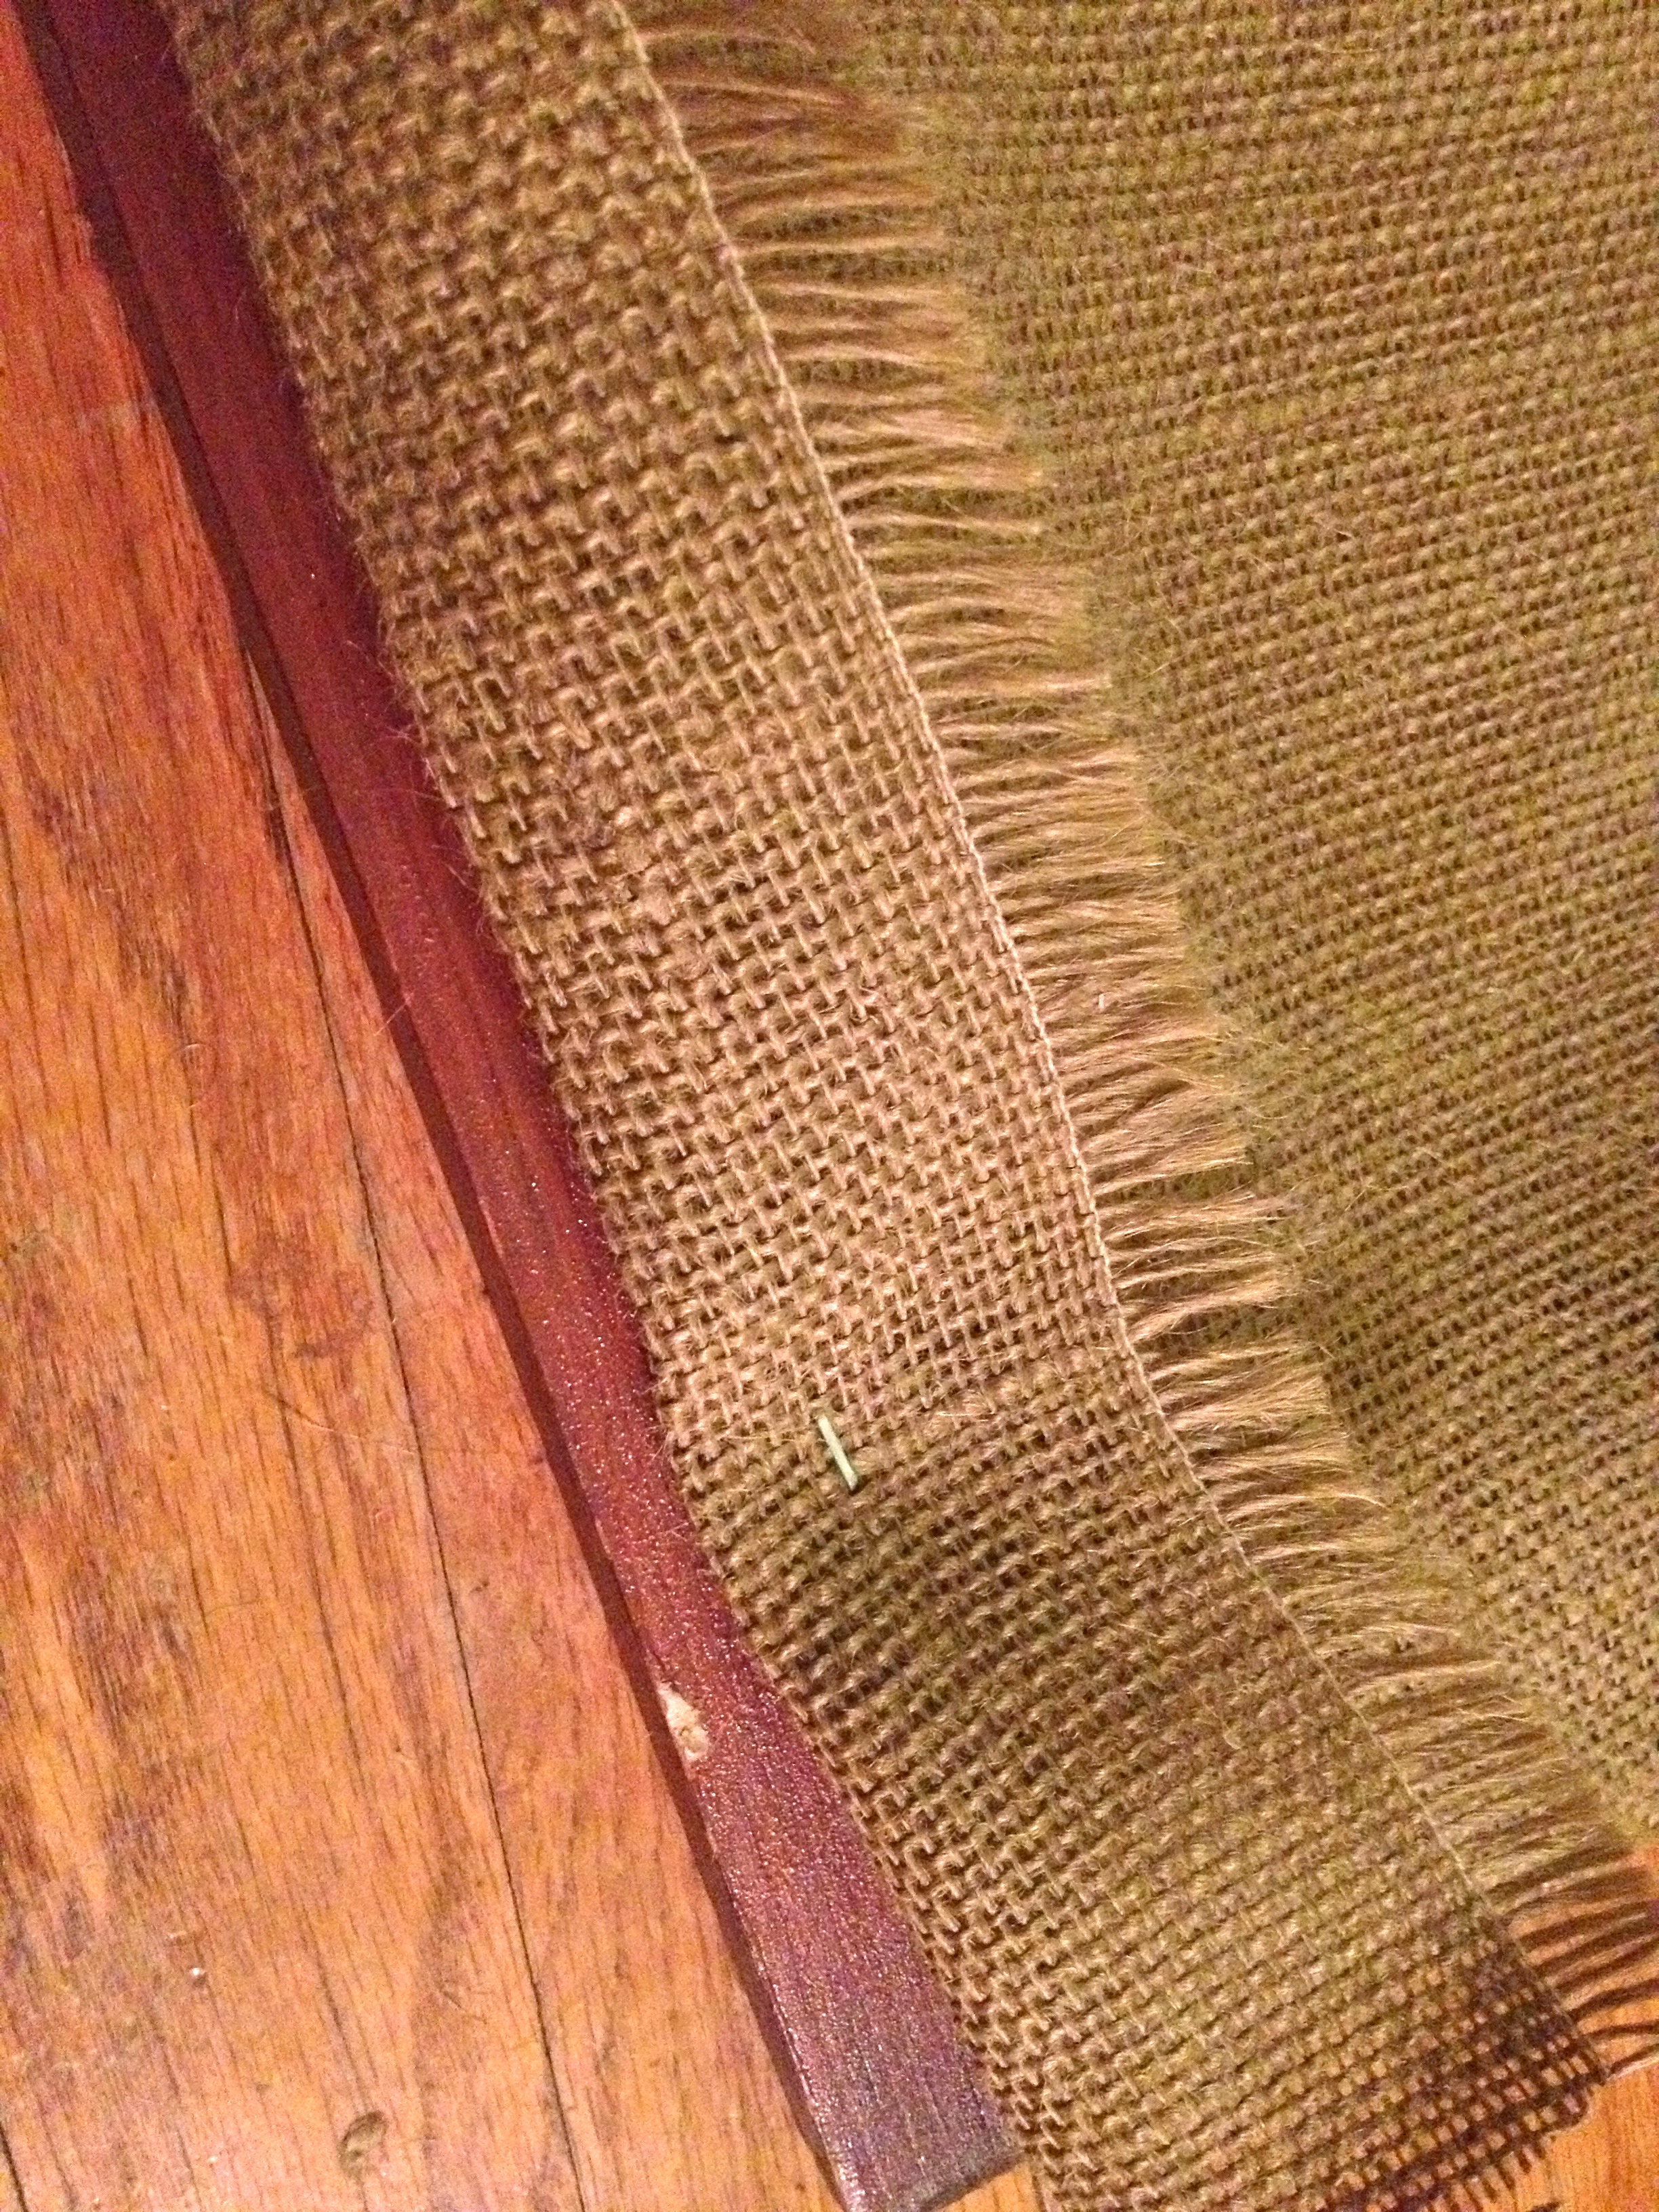
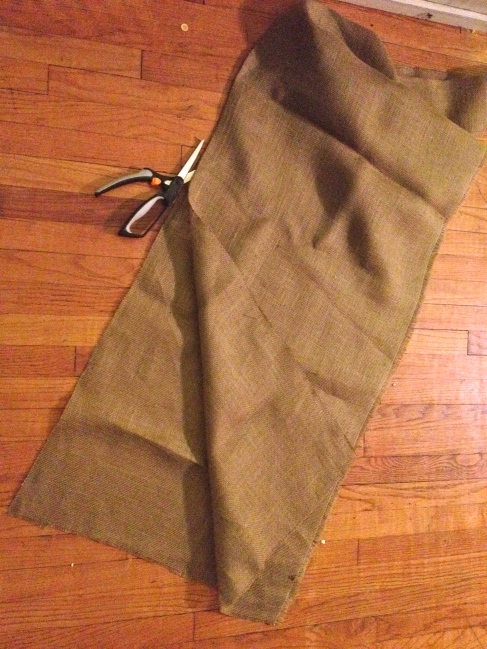
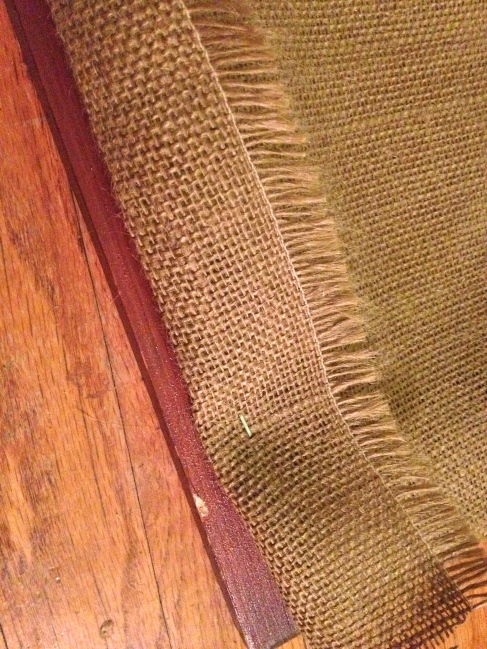
Then I cut a length of burlap that would fit comfortably in place of the missing glass.
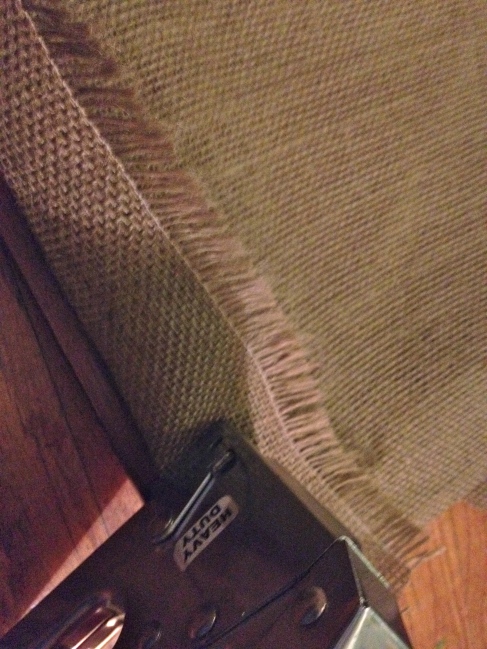
I used my husband’s industrial stapler to attach the burlap to the wooden frame. I folded the fabric over and stapled it down, pulling it snug as I went along.

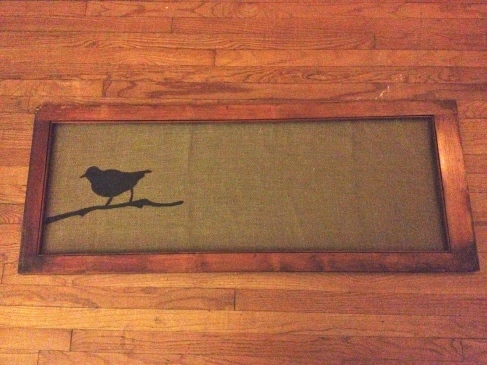
Once the burlap was stapled onto the frame, I turned it over and painted the silhouette of a bird on a branch. I used black fabric paint. (tip: make sure to put newspaper underneath as you paint. Burlap allows for a lot of leakage.)
Once the paint was dry, I used my husband’s drill to drill holes for seven hooks along the bottom of the wooden frame. (tip: make sure to avoid the staples!)
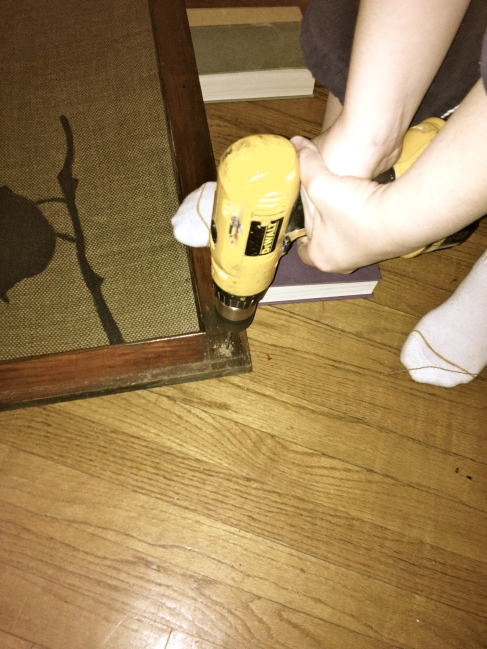
Once the holes were made, it was simple to screw in a few decorative ceramic hooks from my favorite craft store.
My next blog post will have the completed project, so come on back, ya’ll!